How To Install Android SDK
 Install the android Sdk is the first step for develop an Application for mobile phones that run Android Operating System, in this tutorial i’ll try to explain how install the Sdk and some others things that you need for start develop your application
– Download sdk from : http://developer.android.com/sdk/index.html
– create folder ” ANDROID_HOME” where you want on you hd
– unzip the package that you had downloaded before
– go to http://www.oracle.com/technetwork/java/javase/downloads/index.html and download JDK ( this step will be automatic with the installation of the sdk )
– install the JDK
-at the end of the JDK installation a ” setup” application starts ( it execute a command ” android” the is in the folder “tools”, this command check if there are some online updates about documentations, tools, and , new version of the SDK )
– if we select ” installed packages ” on left column, and click ” refresh”, if all is right , we obtain a windows like this.

– now if we select ” Install Selected ” starts to download the selected components
– when we finished we must restart the android tool
– Now we need an IDE for manage our Android projects, so Google have made an plug-in for Eclipse (http://www.eclipse.org/downloads/), download it and install where you want on your hd
– once you have downloaded and installed Eclipse we must procede to install the “google plugin for eclipse “, ADT.
click “help” – “Install new software ”

Name : google
location : https://dl-ssl.google.com/android/eclipse/
Press ” ok”
For download the plug-in we must click under “developer tools” and click “install”.
The downloads and the installations starts, once the installation process finish, restart the Eclipse.
Name : google
location : https://dl-ssl.google.com/android/eclipse/
Press ” ok”
For download the plug-in we must click under “developer tools” and click “install”.
The downloads and the installations starts, once the installation process finish, restart the Eclipse.
Now we have installed the plugin, but we must customize some proprties before we can starts develop our application.
let’s go on “Windows” – ” Preferences ” – ” Android ” –

and locate the folder where you have before installed the sdk ( in my case c:\Programmi\Android\android-sdk-windows ), and click “Apply”.
OK’s , let’s test if all it’s right :
We try to create an HelloWorld Application :
Select “New” under “File” menu, select “Project”, and Select “Android Project”
 Insert the project name, application name ( the same as the project name ), the Package Name and the min SDK Versione ( is the minimun sdk version that our app. can run ).
Once we have clicked “Finish” we can see on the left side under the ” Package Explorer ” the dir structure of our project.
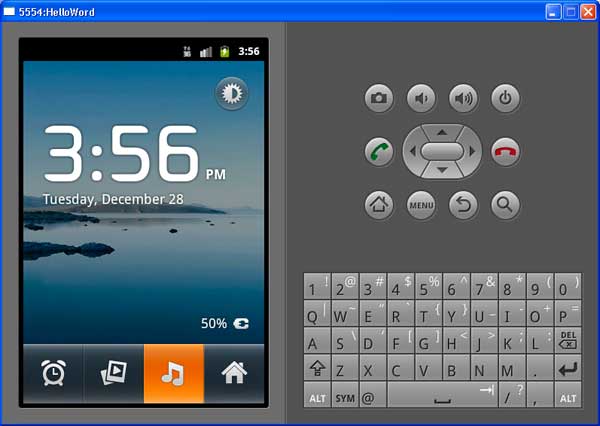
now if we click on “Run” , “Run”, we can see the emulator with the buttons that we needed for testing our app like on a Mobile.

That’s mean that all in the installation it’s right.

